


Adaptive Children's Self Protection for Students with Chiari Malformation (hour 6)


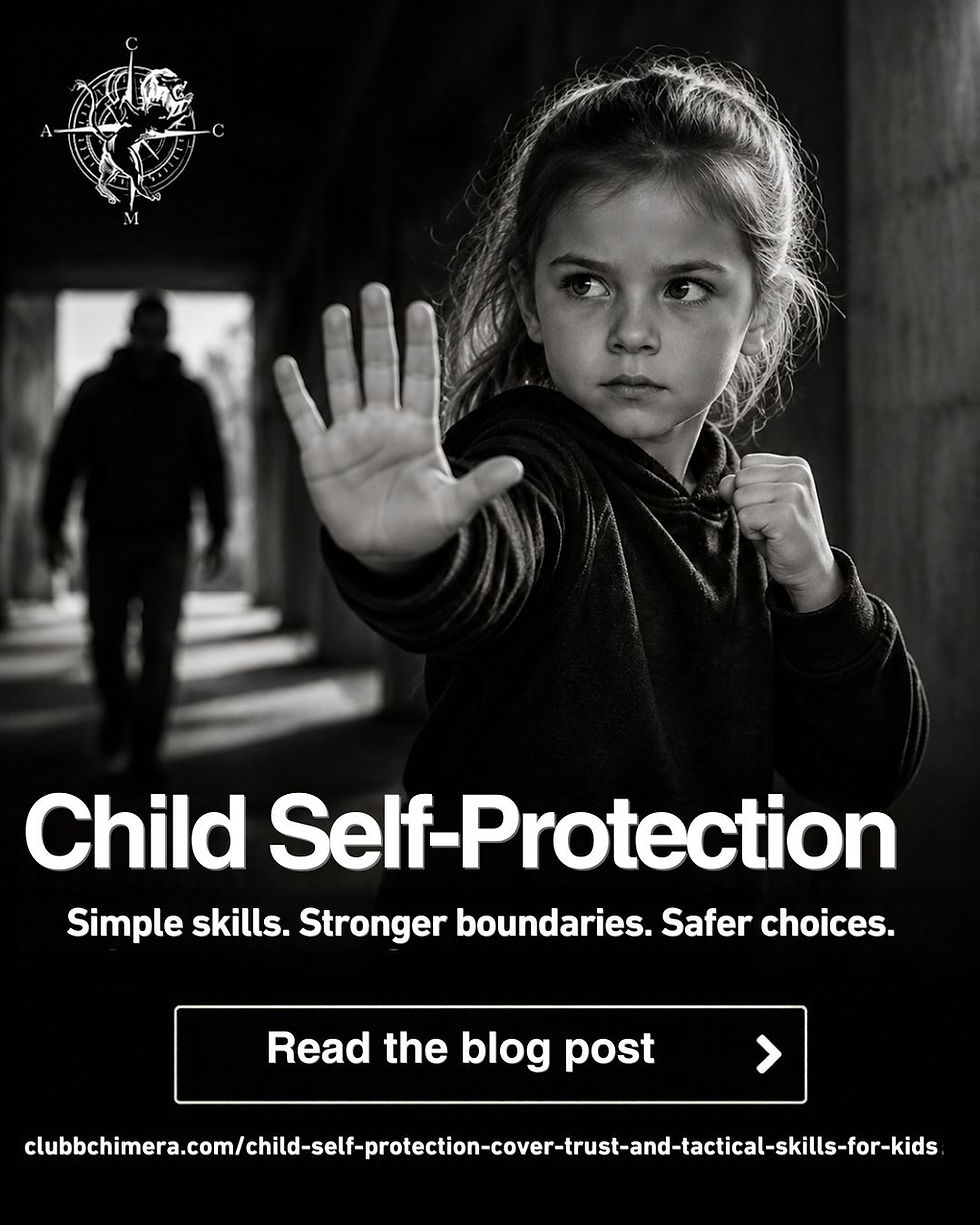
Children's Self-Protection
A child with Chiari Malformation needs self-protection that respects the head, neck, spine, balance, and fatigue. Standard martial arts drills often miss that point.
This case study looks at an adapted course for a youth student who needed practical safety skills without throws, strikes to the head, hard falls, neck cranks, or impact sparring. The aim was clear. Build confidence, improve decision-making, and teach safe escape skills within medical limits.
This article is informational only. Any child with Chiari Malformation should follow medical advice from their clinician before starting physical training.
The case study and the course goal
Chiari Malformation is a condition where part of the brain sits lower than usual and can press into the spinal area. The NHS describes Chiari Malformation as something that may cause symptoms such as headaches, neck pain, dizziness, poor balance, weakness, and problems with coordination. Symptoms vary. Some people have few symptoms. Others need firm limits on pressure, impact, and exertion.
The student in this case study was a young person taking private lessons near Chipping Norton. The brief was not to create a fighter. It was to build safe refusal skills, escape habits, and body awareness.
The course used the framework of Adaptive Self-Protection & Functional Hard Skills. That means each lesson connected three areas:
Awareness and decision-making
Physical escape skills that avoid impact
Mental rehearsal for pressure, fear, and peer conflict
The course also avoided several common training methods:
No contact sparring
No throws or breakfalls
No head impact
No neck pressure drills
No ground wrestling with weight on the head or shoulders
No fitness tasks that caused straining, breath-holding, or sharp changes of position
This kept the course inside the main rule. Protect the student first. Teach the skill second.
For families researching Children's Self-Protection, this is the key lesson. A good course should fit the child, not force the child to fit the course.
The course began with medical boundaries and clear consent
The first phase did not start with punches, pads, or takedowns. It started with boundaries.
The instructor gathered practical information from the family, with the student included in the conversation. The focus stayed on training limits rather than private medical detail.
The key questions were simple:
What movements are not allowed?
What movements cause symptoms?
Does the student get headaches, dizziness, neck pain, or fatigue?
Are there balance issues?
Has a clinician advised against contact sport?
What should stop a drill immediately?
This created a safety map for the course.
The student also learnt to use stop language. That mattered. Many young people freeze when they feel unwell, embarrassed, or pressured. In this course, stopping was treated as a skill, not a failure.
The student practised three direct phrases:
“Stop. I need space.”
“I am not doing that.”
“I need help now.”
These phrases were trained in a calm voice first. Then they were rehearsed under mild stress, such as a louder voice, a closer distance, or a timed decision. The student never had to prove toughness by pushing through symptoms.
Ethical boundaries came in early too. Self-defence was framed as escape and protection, not punishment. The student learnt that force has limits. In the UK, the law around self-defence centres on reasonable force, but real situations are judged by context. The course did not turn that into legal advice. It used a simpler rule for a child:
Use words if they work. Move away if you can. Get help as soon as possible. Use physical skills only to create safety.
That rule shaped every phase that followed.
Phase one used zero-impact warm-ups to prepare the body
Warm-ups were slow, specific, and symptom-aware. The goal was not to exhaust the student. The goal was to check readiness and prepare safe movement.
A normal martial arts warm-up might include running, jumping, press-ups, rolling, or sudden direction changes. Those were removed. The adapted warm-up used gentle movement, posture checks, and balance work.
A typical warm-up included:
Warm-up area | Adapted method | Reason |
Breathing | Calm nasal breathing and steady exhales | Reduces panic and avoids breath-holding |
Neck safety | Neutral head position, no forced stretching | Protects the neck and avoids strain |
Balance | Slow stepping patterns | Builds control without impact |
Hands and guards | Open-hand frames near the chest | Prepares protective positions |
Footwork | Small steps forward, back, and sideways | Supports escape without running |
Body awareness | Check for headache, dizziness, or fatigue | Stops problems early |
The student also practised “ready posture”. This looked natural, not aggressive. Feet were under the body. Hands were up at chest height, palms open. The chin stayed level. The shoulders stayed relaxed.
This posture has three benefits.
It protects personal space. It keeps the student able to move. It also looks non-threatening, which matters in school settings, clubs, parks, and public spaces.
The warm-up ended with a traffic-light check:
Green Fine to train.
Amber Slow down, reduce movement, or change the drill.
Red Stop the drill and rest.
This method gave the student control over their body. It also gave the instructor a clear way to adapt the lesson in real time.
Phase two taught anti-grappling without wrestling
Anti-grappling means stopping someone from grabbing, holding, pulling, or dragging. In many martial arts classes, anti-grappling becomes wrestling. That was not suitable here.
The adapted version focused on prevention and early escape.
The first skill was distance. The student learnt to notice when a person moved from social distance into grabbing range. This was done through slow partner drills. The partner walked in. The student used words, footwork, and an open-hand frame to manage space.
The second skill was grip prevention. The student did not swat hard, strike down, or twist sharply. Instead, they used simple barriers:
Hands in front of the body
Elbows close to the ribs
Small steps back or around
Turning the body slightly to make grabbing harder
Moving towards exits, adults, or open space
The third skill was safe grip release. If a wrist or sleeve was held, the student practised moving towards the weak point of the grip. The drill stayed slow. No yanking. No spinning. No sudden neck movement.
The instruction was direct:
Stay tall.
Keep the head still.
Breathe out.
Move the trapped limb towards the opening.
Step away.
Speak clearly.
Get help.
The course used role-play to make this useful. One scenario involved another child blocking a doorway. Another involved someone trying to pull the student towards a group. Another involved a playful grab that did not feel safe.
These examples matter because many youth safety problems start in grey areas. A child may not know whether something is bullying, rough play, teasing, or danger. The course taught the student to act on discomfort early.
That is where mental conditioning came in.
Mental conditioning did not mean aggression. It meant practising clear decisions before stress took over. The student used short scripts:
“I can move now.”
“I do not have to freeze.”
“My job is to get space.”
“I can ask for help loudly.”
Affirmations worked because they were tied to action. They were not vague confidence lines. Each one matched a physical skill.
Phase three adapted headlock defence for neck safety
Headlocks are common in playground conflict, sibling roughhousing, and peer bullying. They are also risky for a student with Chiari Malformation because they can involve neck compression, twisting, falling, and panic.
This phase did not teach the student to fight through a headlock. It taught the student to prevent one first.
The course broke headlock defence into three levels.
The safest defence was early recognition
Most headlocks begin with a person stepping beside or behind, reaching over the shoulder, and pulling the head down or in.
The student learnt to spot these warning signs:
Someone moving to the side too closely
An arm rising near the head
A hand reaching behind the neck
A person laughing while ignoring “stop”
A group forming around the student
The response was immediate. Turn the body. Raise the hands. Step away. Use a firm phrase.
The main phrase was:
“No. Do not touch my head or neck.”
This sentence was chosen because it is clear. It names the boundary. It also helps witnesses understand the problem.
If contact began, the priority was posture
If an arm touched the shoulder or head area, the student practised staying upright and protecting the neck. There was no dropping, rolling, or twisting escape.
The adapted response used:
Hands to create space at the arm or shoulder line
Small footwork to turn towards open space
A clear verbal stop
Moving towards a safe adult or exit
The student was not asked to finish with a strike or throw. The goal was to stop the head being pulled down and to leave.
If trapped, the aim was to reduce harm and call for help
A true headlock can be dangerous. For this student, the course treated it as an emergency, not a contest.
The response was kept simple:
Protect breathing.
Keep the neck as neutral as possible.
Avoid sudden twisting.
Make noise.
Move feet towards support.
Get help fast.
The student practised using a loud help command without shame. Many children are told not to make a fuss. In self-protection, noise can be a safety tool.
The key line was:
“Help. My neck is being hurt.”
This phrase is specific. It tells adults what is happening. It also makes the medical risk clear without needing a long explanation.
Zero-impact training changed the definition of success
The course measured progress differently from a standard martial arts programme.
There were no belts, no rounds, no sparring scores, and no pressure to “win” a physical exchange. Progress looked like this:
The student noticed unsafe distance earlier.
The student used stop language sooner.
The student kept the head and neck safer during drills.
The student chose escape over struggle.
The student asked for help clearly.
The student described personal limits with less embarrassment.
These are real self-protection outcomes.
Private lessons helped because the pace could change at once. If the student had a headache, the lesson moved to seated verbal practice. If fatigue appeared, the drill became a discussion or visual rehearsal. If a movement caused concern, it was removed.
This is where Self-Defence, Personal Security, Private Lessons can be useful for children with medical constraints. A private setting allows close attention, lower social pressure, and sharper control over contact.
Affirmations supported confidence and ethical self-defence
Affirmations can sound weak when they are treated as slogans. In this course, they worked because they were short, realistic, and linked to behaviour.
The student used four core affirmations:
“My safety matters.”
“I can say no early.”
“I can move towards help.”
“I do not need to hurt someone to protect myself.”
These lines supported the ethical side of self-defence. Children need more than techniques. They need a moral frame.
The course made several points clear:
Self-defence is not revenge.
Embarrassment is not a reason to stay in danger.
A medical boundary is not weakness.
Walking away is often the best result.
Physical skill should create space, not settle an argument.
This matters for youth students. Many conflicts involve friends, classmates, siblings, or team-mates. The safest answer is often social, verbal, and tactical before it is physical.
What other families can learn from this case study
The main lesson is simple. Adaptation is not a watered-down version of self-defence. It is the responsible version.
A child with Chiari Malformation may need limits around impact, strain, neck movement, fatigue, and pressure. Those limits should shape the training plan from the start.
A good adaptive course should include:
A pre-training discussion about medical boundaries
A clear stop system
No pressure to spar or compete
Zero-impact movement options
Skills for distance, escape, and help-seeking
Verbal practice under controlled stress
Ethical rules for when force is and is not appropriate
Regular checks for symptoms
Parents looking for private lessons should ask direct questions before booking:
How do you adapt training for medical needs?
Do you use contact sparring with children?
Can my child stop a drill at any time?
Do you teach verbal boundary skills?
How do you handle neck safety?
What happens if my child feels dizzy or tired?
Clear answers matter more than impressive claims.
For more detail on child-focused training, see children’s self-protection lessons and guidance.
FAQ
Can a child with Chiari Malformation learn self-defence?
Yes, if training is adapted and cleared by the child’s medical team. The focus should be on awareness, verbal skills, escape, and zero-impact movement. Contact sparring, throws, and neck pressure may be unsuitable.
Are headlock defences safe for students with Chiari Malformation?
They can be risky if taught as wrestling or twisting escapes. Safer training should focus on early recognition, prevention, posture, clear speech, and getting help. Any drill involving the head or neck needs strict control.
What does zero-impact self-protection mean?
It means training without hitting, falling, throwing, hard contact, or sudden force through the head, neck, or spine. The student still learns useful skills, but the drills protect the body first.
Why use affirmations in self-defence training?
Affirmations help a child make decisions under stress. Short phrases such as “I can move towards help” connect confidence to action. They also reduce freezing and hesitation.
Are private lessons better for children with medical constraints?
They can be. Private lessons allow the instructor to adjust pace, contact, and content for one student. That can reduce pressure and make training safer.
The key takeaway
Adaptive self-protection for youth students with Chiari Malformation must start with safety, consent, and medical boundaries. The best skills are often simple. Keep distance. Protect the head and neck. Say no early. Move away. Get help.
A child does not need hard contact to build real confidence. They need training that respects their body and gives them clear choices under pressure.


Comments